(Spoiler Alert: This isn’t actually a recipe for a TRUE maxcap, which has a devastation score of 5/10/20. Independent testing has concluded that a bomb made following this guide has a devastation score of 3/7/15. It’s not QUITE the biggest bomb possible, but good enough for the vast majority of applications you will encounter. However, I strongly encourage you to find ways to make this a true maxcap! It’s quite fun to brainstorm and find ways to optimise people’s setups. Good luck! ![]() )
)
Oh hello there! Didn’t see you there in between all of these superheated- and near-absolute-zero canisters of highly volatile gasses!
Hmm? What’s that? You wish to learn the quickest way to make something that could violently space a large portion of the station? For research purposes, of course? Well then, come in, come in! Sit down, grab some plasma-infused popcorn, and enjoy this very long but hopefully very interesting ramble.
- Part One: the THEORY
If you just want to get to the part where I give you the step-by-step process on how to make a bomb, feel free to skip this section! This here is just for people who wish to learn how this even WORKS, and how to improve on my admittedly very quick and dirty, barely-a-maxcap setup.
Right, so. First we need to understand what an explosion even IS. On Space Station 13, an explosion is created in (mainly) two ways:
-
A traitor (or a bored assistant, which is arguably scarier) gets his hands on a bundle of C-4
 , a grenade
  , or a full-on Bomb
  . As you’re surely a loyal and innocent crewmember, this will be out of the question for us.
 -
The Science Team creates a TTV, shorthand for a Tank-Transfer-Valve, or how I like to call it, the Two-Tank-Valve
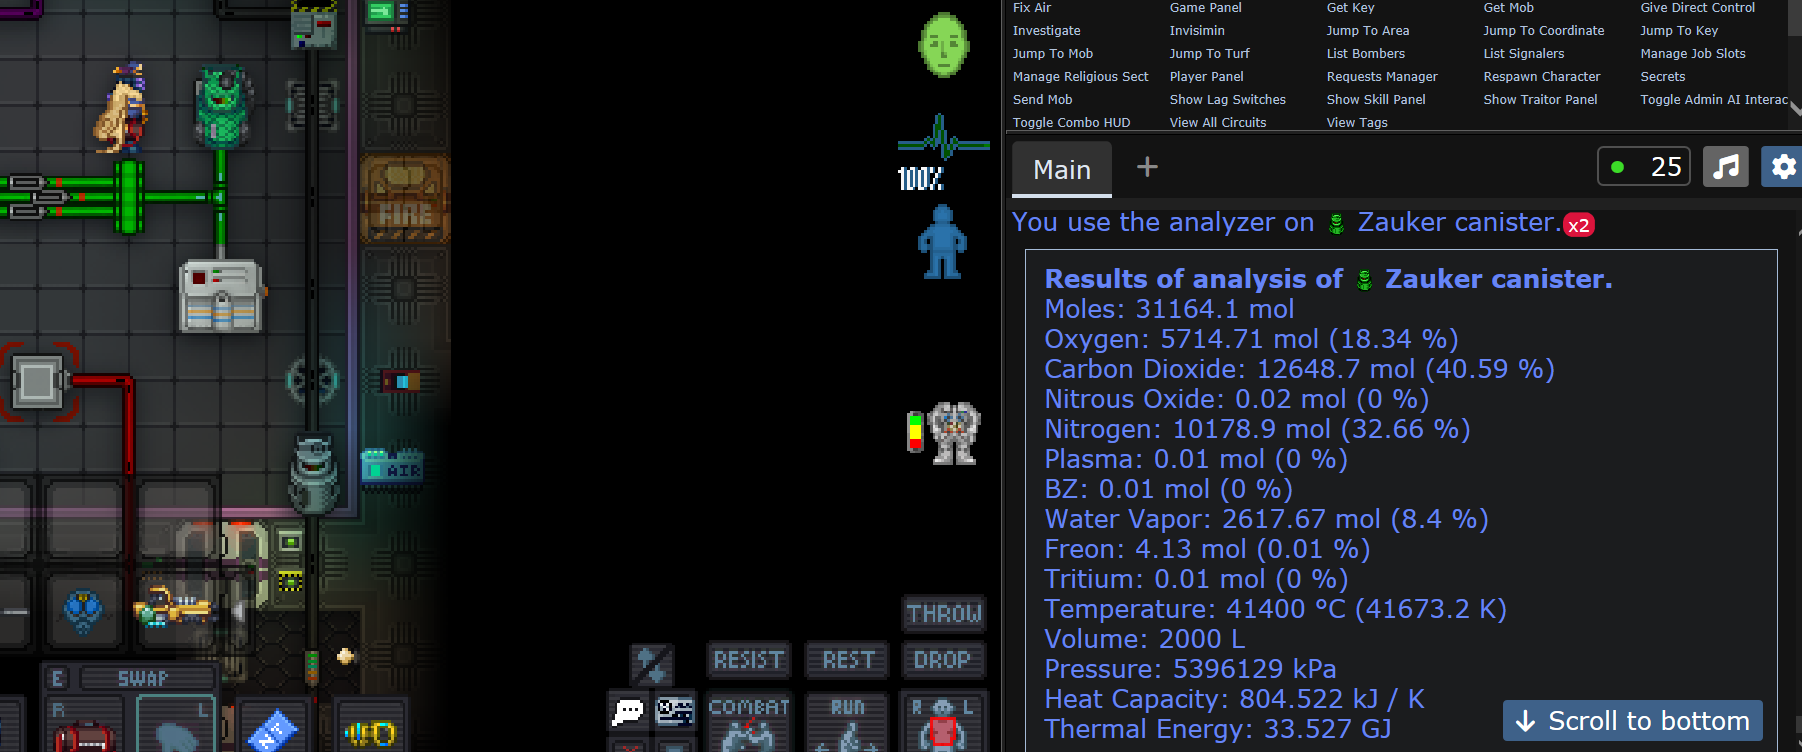
 Quite literally nothing more than two tanks filled up with a mixture of gasses and held together by a piece of pipe, your hopes and dreams. Once the valve on top is opened, the gasses mix, react for EXACTLY 3 ticks (you can think of a tick as a second for now), and then the whole assembly either explodes in a glorious display of SCIENCE AND AWESOME, or fails miserably. Now, what determines which outcome will happen? Simple:
What volume of gasses did we start with, and what volume is the mixture at the end of the three ticks?
The higher the end volume is, the bigger the explosion! Under a certain threshold, it will look more like a fizzle than a kaboom. Simple, right? Alright, so, how do we up the volume in a closed system? We can’t ADD gasses mid-explosion after all. Trust me, it’s not a good way to keep your limbs. No no, we need to make the mixture expand by itself. How, you ask? With TEMPERATURE.
See, all gasses expand when they get hot, but not all of them are born equal. Some, like the mythical Plasma ![]() , have an incredibly high capacity to store temperature! That means we need a LOT of energy to make it HOT, and much more importantly, it will release a SHIT-TON of it when it wants to cool down. Others, like our trusty Nitrogen
, have an incredibly high capacity to store temperature! That means we need a LOT of energy to make it HOT, and much more importantly, it will release a SHIT-TON of it when it wants to cool down. Others, like our trusty Nitrogen ![]() , are not capable of holding temperature that well. They get very easily excited and all Hot and Bothered-. Eh-ehrm.
, are not capable of holding temperature that well. They get very easily excited and all Hot and Bothered-. Eh-ehrm.
So now, imagine for a second we would mix an incredibly hot can of Plasma with an incredibly cool can of Nitrogen. The energetic Plasma will do its darnedest to make that temperature difference between the two disappear by giving the Nitrogen thermal energy. A SHIT-TON, as we previously stated. The Nitrogen does NOT need THAT MUCH energy to get hot, and as it expands and takes up a lot more space, it barely makes a DENT in the plasma’s energy stores. The Nitrogen thus expands incredibly fast while the Plasma only contracts slightly. If you do the math, that’s… yes, a LOT MORE VOLUME than we had before.
Congratulations, you’ve just made a bomb! Well, a reactionless bomb. There are ways you could create more gasses during a reaction that is not temperature-based, but this is the basic setup that will carry you through most experiments. If you wish to get more information on the energy amount any gas can store, this page in the atmospherics guide has you covered. It also has some more interesting info on container volume and such, so I suggest giving it a thorough read!
- Part Two: The PRAXIS
Right! I wish to say how proud I am for you having survived through the theory! Now you’re ready to get your hands on my very own, top secret recipe for making a Quick Bomb™. You will barely need 10 minutes tops to set everything up!
-
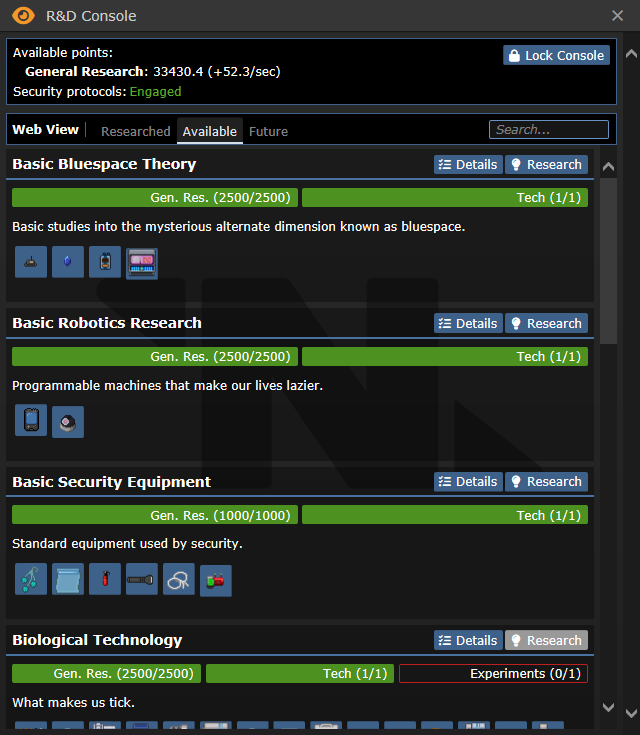
Research better LASERS in the Research console!
See that little ‘search bar’ on the right side of the screen? Type in ‘Laser’, research all the prerequisites for the Ultra-High-Powered Lasers. This can be by far the longest time period spent waiting if you’re not a fan of doing experiments. -
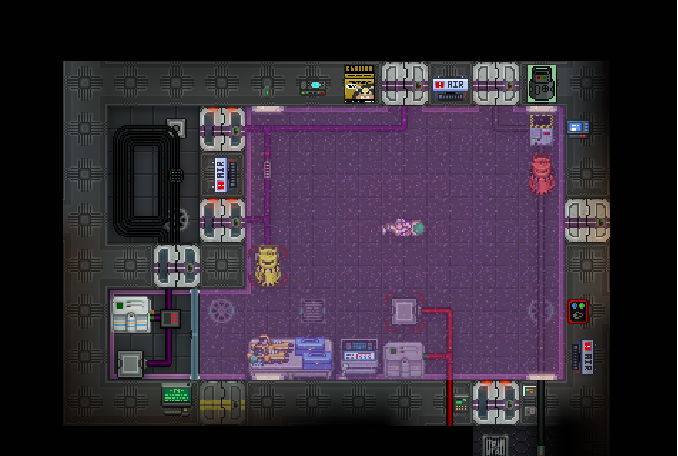
Get a ‘Rapid Parts Exchange Device’ (RPED for short)
 from Science’s Departemental Protolathe.
  Then print some of those lasers (and some better Matter Bins if they are available, but this is optional) you researched earlier, scoop them up in your RPED, grab a screwdriver, a wrench and a crowbar, and head for the Ordinance section of science.
 -
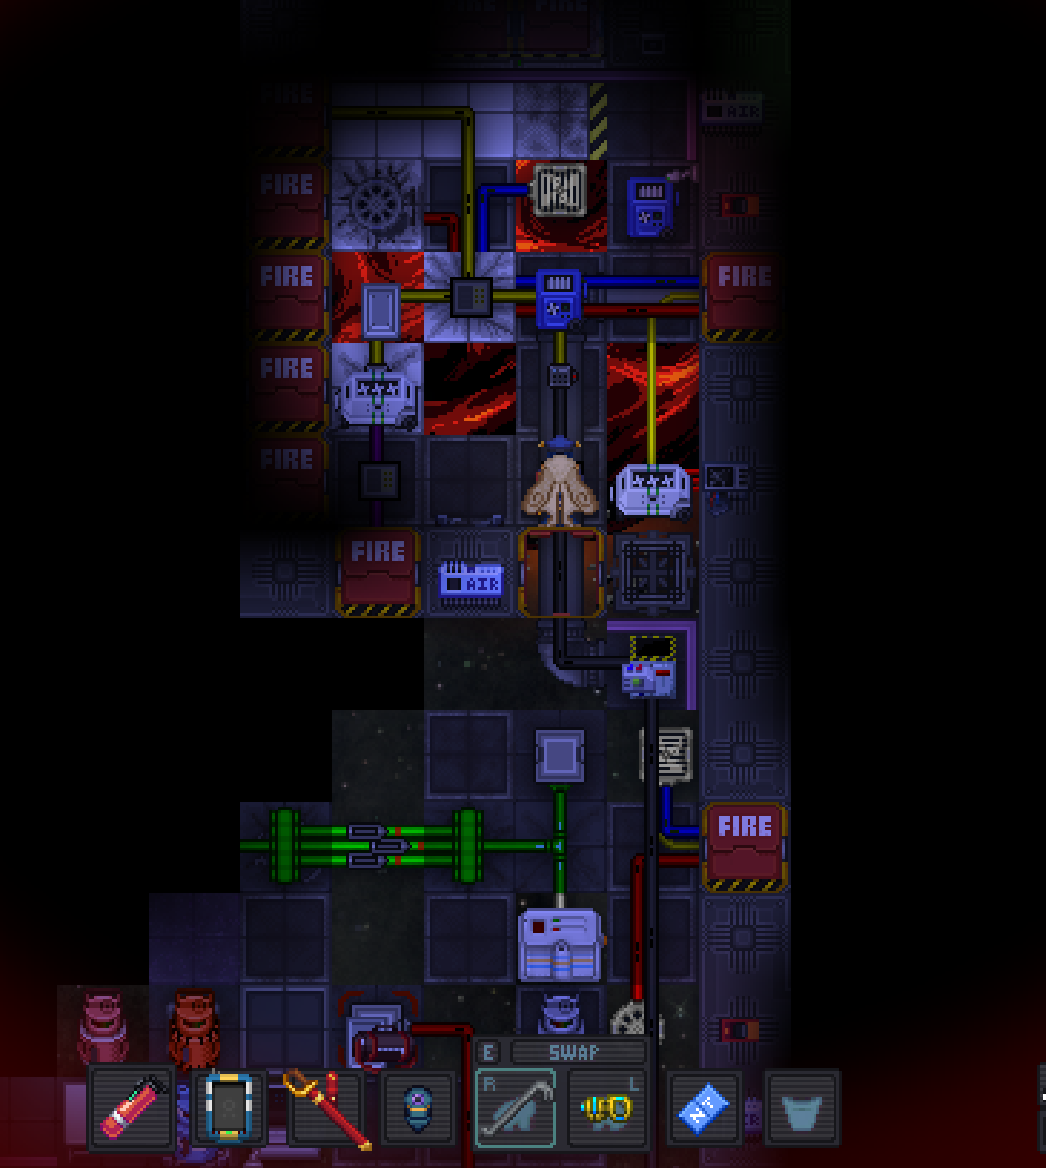
Locate the Thermomachine.
 Make sure it is turned OFF, screwdriver it open, and use your RPED on it. If you hear a whirring sound, congratulations, you have just upgraded it and it is ready for action! (If not, check step two again. Have you missed something?) Screwdriver it close again.
 -
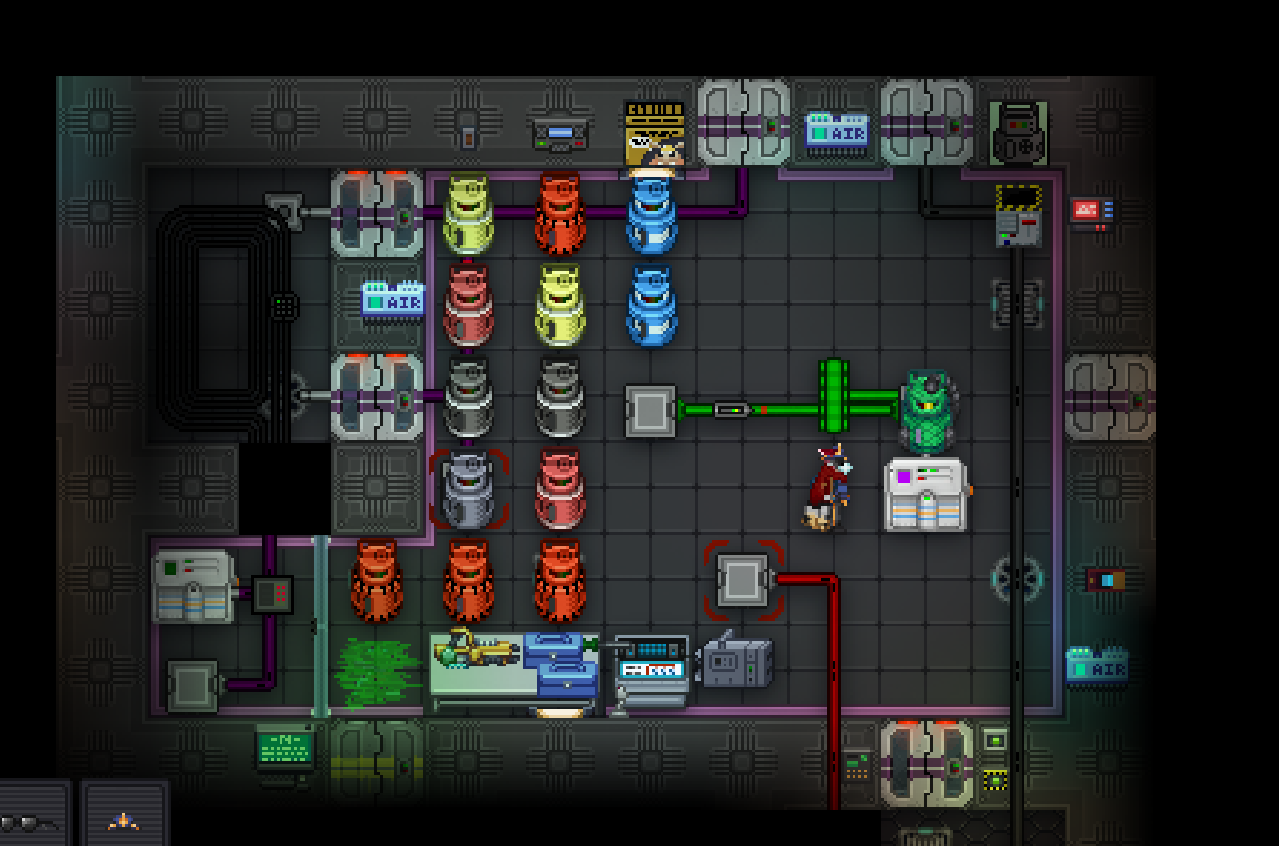
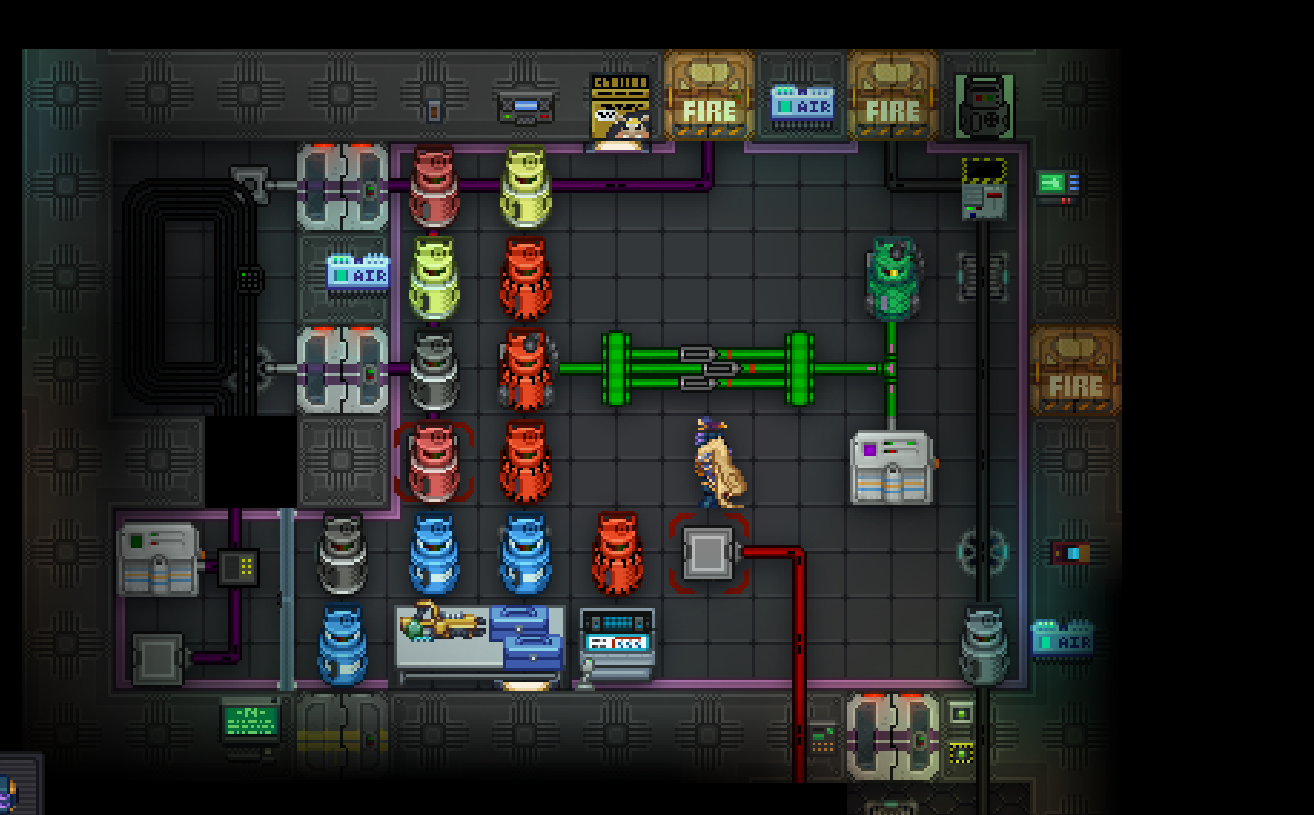
Next up: locate a plasma canister.
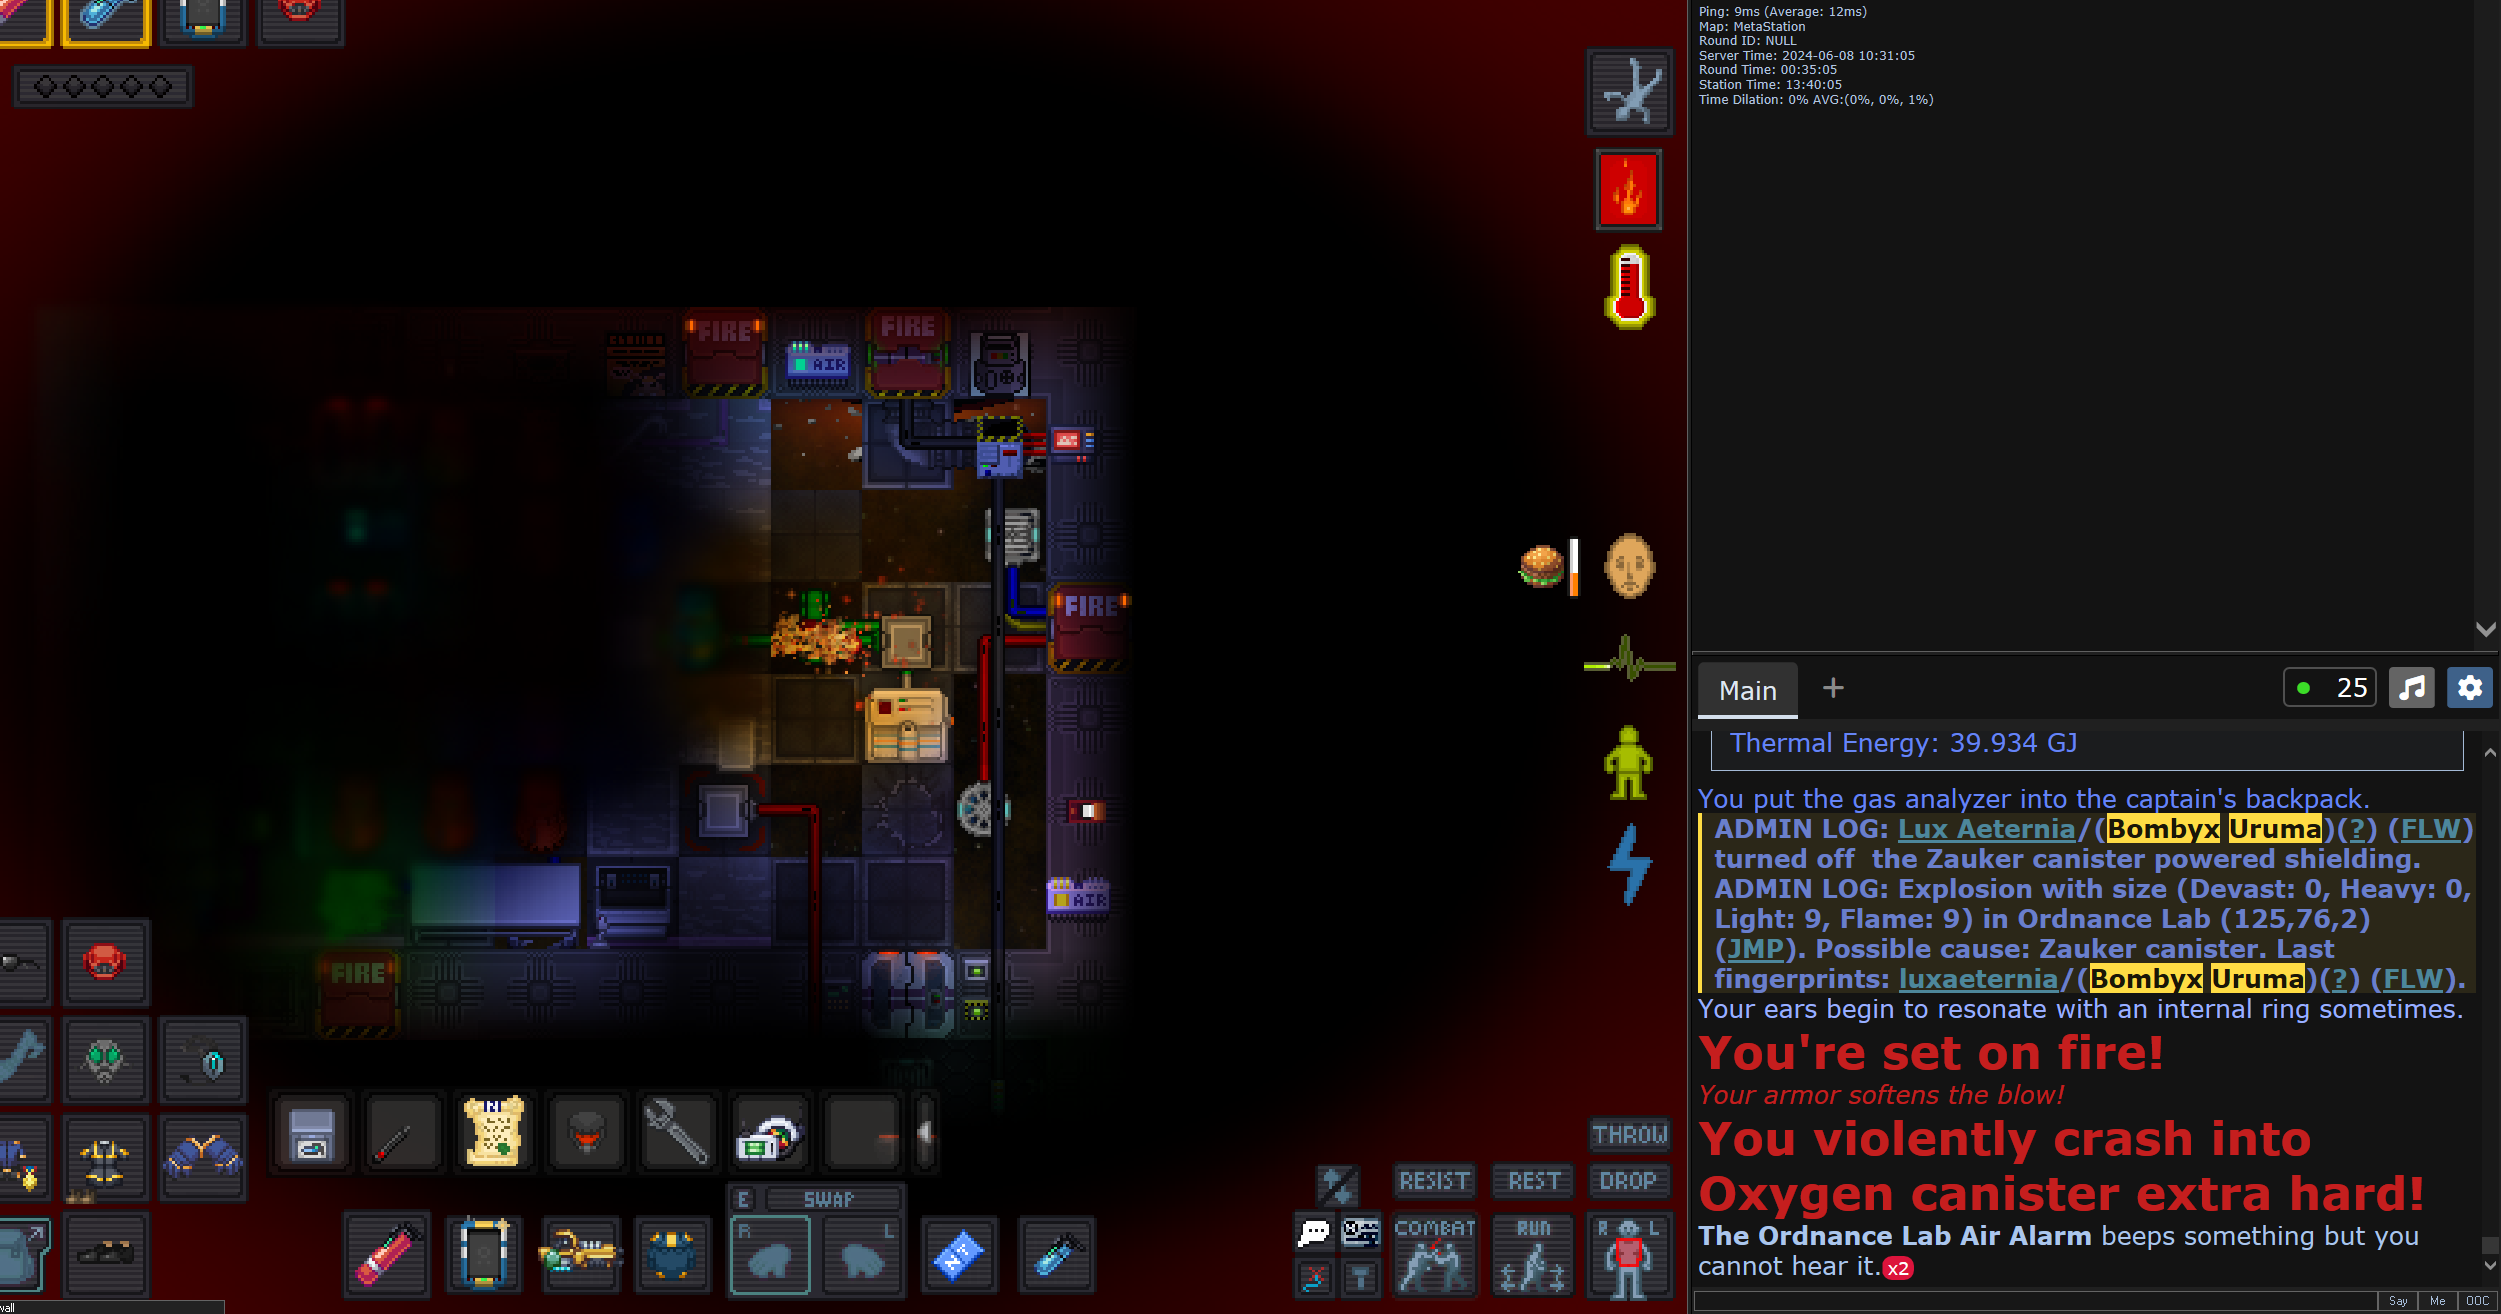
 Click on it with an empty hand, and MAKE SURE to toggle the shield ON. THIS IS THE MOST IMPORTANT STEP BY FAR. You do NOT want to end up like THIS:
This is why atmospherics hates Ordnance. Do NOT end up like this. MAKE SURE THE SHIELD ON THE CANISTER IS ON.
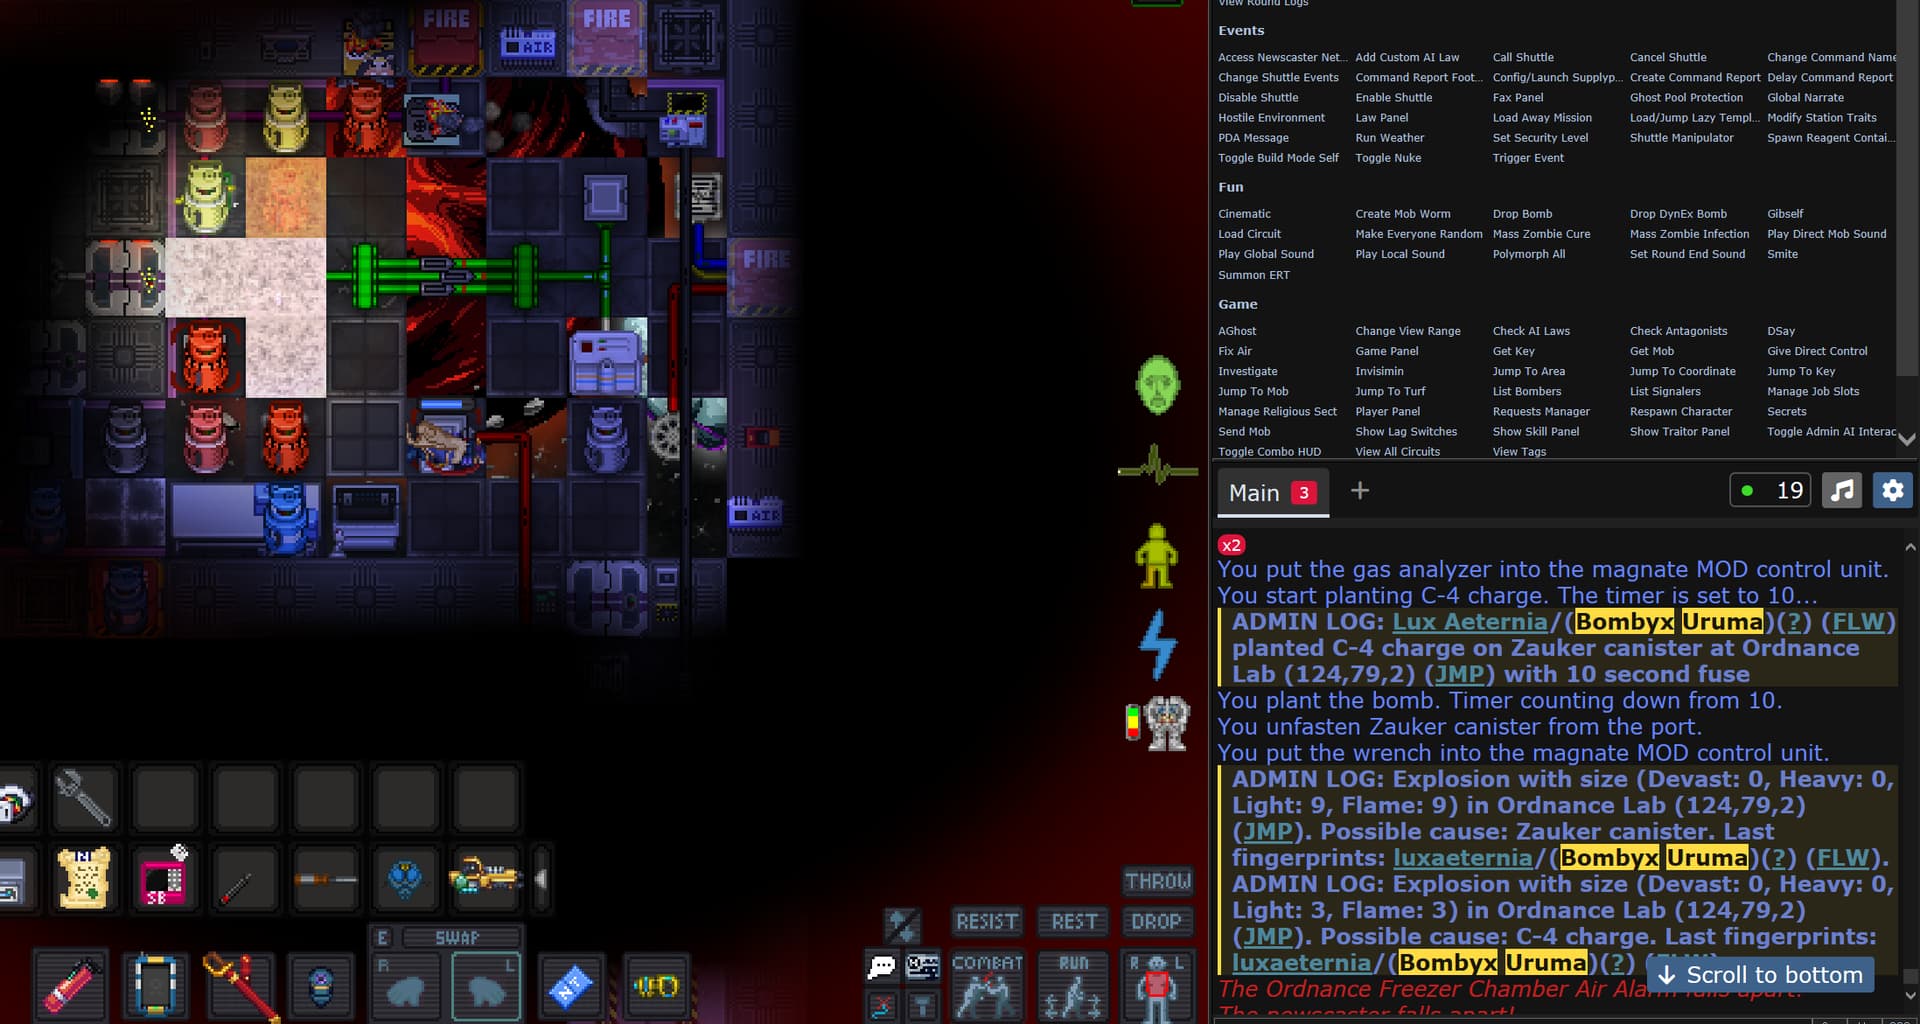
Right, wrench the can on top of the connector facing the thermomachine you just upgraded. Click on the thermomachine, and crank the temperature all the way to the maximum. MAKE SURE THE PLASMA CANISTER’S SHIELD IS ON. Then activate the thermomachine!
-
Let it sit for approximately 30 seconds, or until the maximum temperature has been reached. Unwrench the Plasma canister, and move it somewhere safe. Now deactivate the
, screwdriver it open, and use your crowbar on the thang. Congratulations, you’ve deconstructed a priceless, highly advanced piece of machinery. I will dock its destruction from your pay.
No, I’m kidding. Simply fish the board out of the mess, add it to the machine frame
  , and then put in every part that fell out one by one. Screwdriver everything closed, and voilà!
We needed to do that to evacuate the leftover gasses from the machines, as contamination lowers your kaboom coefficient. Very bad form for science! -
Locate the Nitrogen canister
 , and repeat step 4. However, instead of cranking the temp to the maximum, this time we set it to 35°K. The shield on this can is optional as well, as there is barely any chance of rupturing it during the process, but it’s a good habit to develop.
 -
Again, let it sit for 30 seconds. Afterwards, unwrench it and put it somewhere safe again.
(You’re halfway there! Here, take this moth plushie
, take a breather, and pat yourself on the back. You’re doing Ordnance fantastically!)-
Now we need to extract the gasses we made from the canisters! Locate the tank dispenser
 in the room. Use your hand on it, and take 1 O² tank
  and 1 Plasma tank
  out of it. Beware that they are halfway filled with lukewarm gasses at this stage. They cannot be used as is!
 -
Locate the Portable Scrubber
 , stick your first tank inside it. Toggle the O² option on too! Then active the scrubber. Wait for a second, then deactivate it again. Eject the tank. Repeat for the second one! You know have two easily identifiable, and most importantly EMPTY, gas tanks!
 -
Let’s start with the SPICIEST one. Take your empty plasma tank
, and carefully approach your VERY ANGERY, VERY HOT Plasma canister .
Place INTO .
Now, MAKE VERY SURE THE TANK IS IN THE CAN.
Are you SURE it is in?
Check again. Remember, one misstep is all that is needed to make THIS
a reality. More importantly, YOUR reality. With a lot more fire. And melted flesh. And a sad moth.
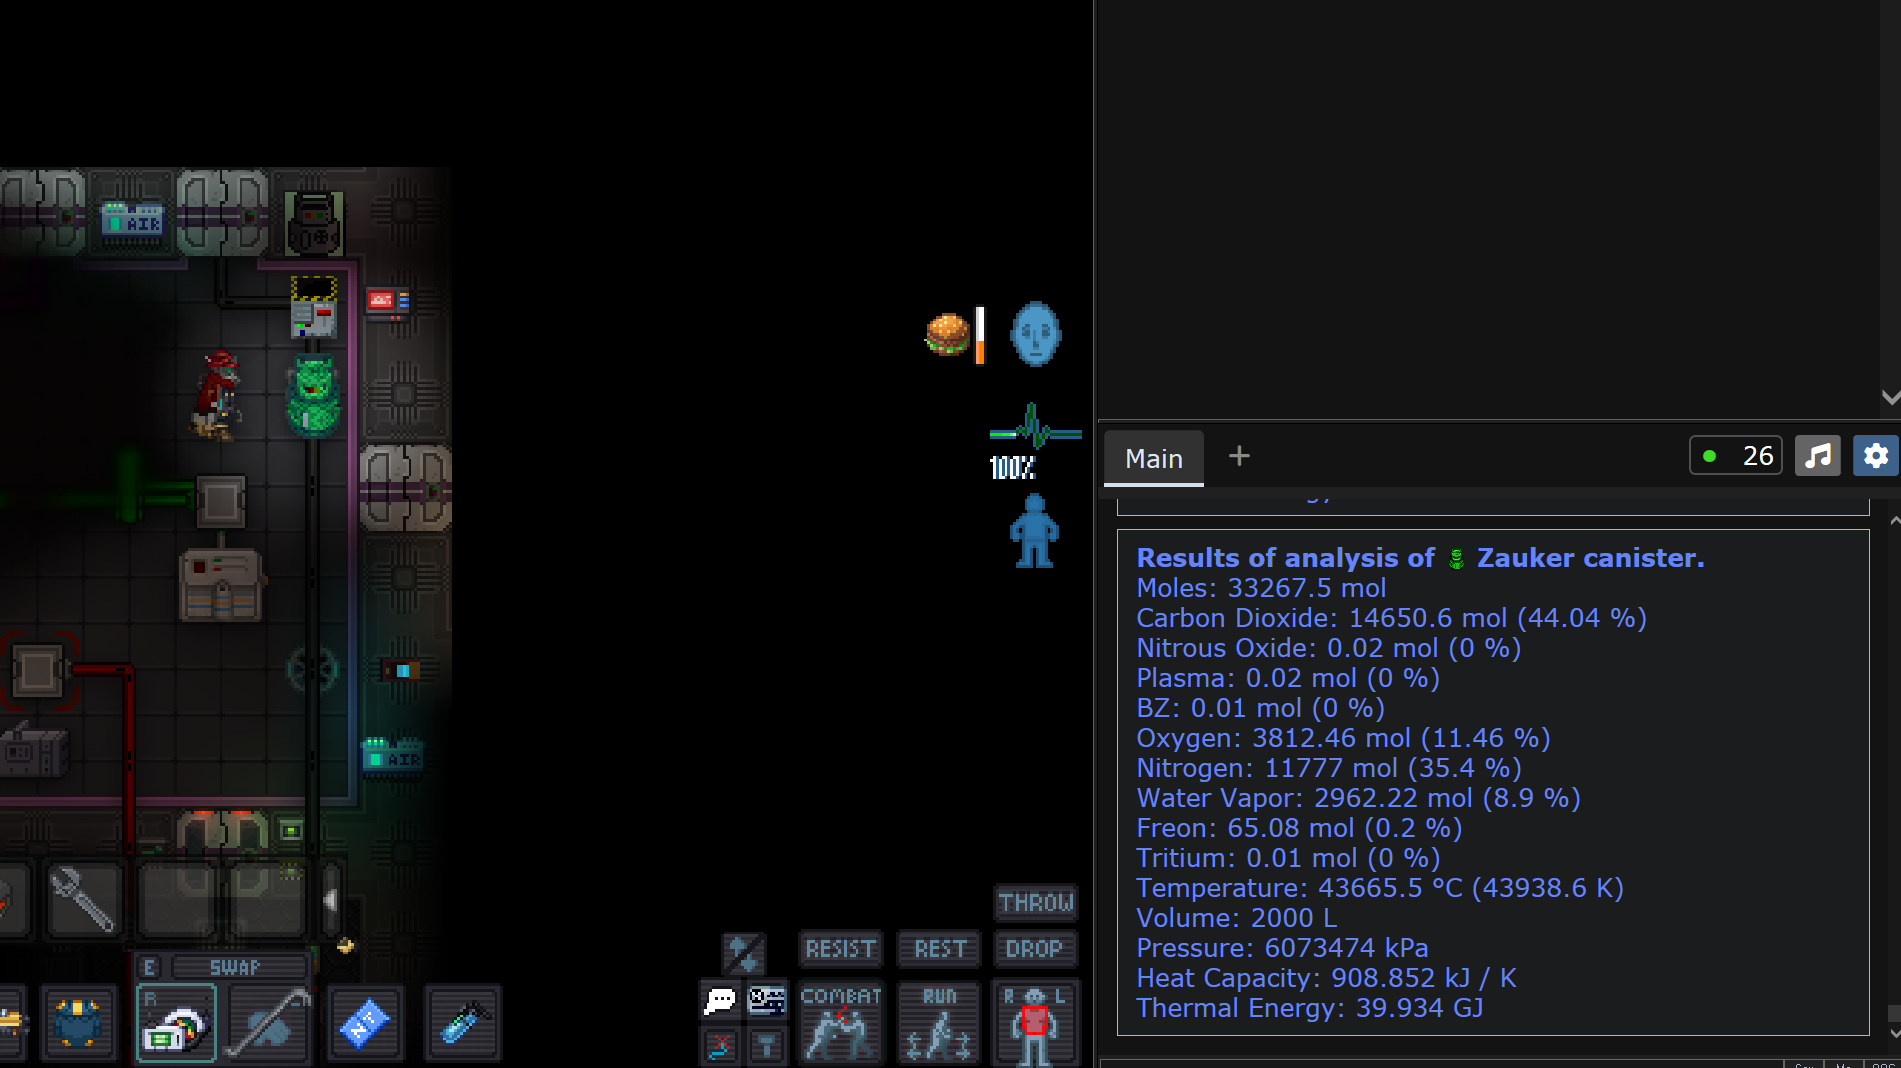
Alright, now that you’re sure, open the's valve. Put the desired pressure to the maximum, which should be 2533kPa. Wait until the is filled up, then CLOSE the valve again. Do NOT eject the tank without CLOSING THE VALVE.
-
I wish I could tell you the same step applies to the Nitrogen Canister
, but unfortunately it does not have enough pressure inside to fill up your O² tank completely after you cooled it. We will need to force it inside! Therefore, we will need a Portable Pump  (There should be one next to where you found the scrubber ). Take the pump to this set of connectors and filters:
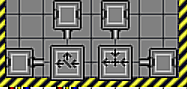
Nowadays there should be one in each of the stations. I hope there is, because I’m not gonna teach you how to make one here, else this thing will never be over! Wrench the Pump down at the very end of it, where the last arrow points to. Put you Nitrogen Can at the very start (opposite to the Pump ) and wrench it down as well. -
Use your hand on the first filter. Set the intake to 100% Main Node, and activate it. Go to the second filter, and activate it as well. Now take your empty O² Tank
, slap it into the Pump , and activate it! Set the target pressure again to the maximum value, and after a second or two, deactivate it again BEFORE taking out -
Almost there! Now go to the next room over. There, you should find a Tank-Transfer-Valve (TTV)
 . Attach the two tanks you took with you on it. It should look something like this at the end:
  .
. -
Attach any types of attachments you wish to use. A very useful one is the Remote Signalling Device
 (If you do use them, make sure to change the frequency to another value than the standard one BEFORE attaching it, because else any other signaller on the entire station can activate the TTV while it is in your hands, which is less than ideal), but any of these can be slapped on the assembly:
Don’t forget to use your screwdriver on them first, else they won’t attach!

And voilà! A finished, completed, and very DANGEROUS bomb! For those of you who made it to the end, let us hold a minute of silence for those that died along the way. May their souls rest in pieces…
As for you? Count yourself as one of the few that Nanotrasen DEFINITELY has their eyes on. The power you wield is enough to make Science RICH, or the station very DEAD. Either way, I’m proud of ya son. Have fun!